Hello! If you’re interested in starting your first live stream but you’re not sure where to start, this guide is for you. Live streaming might seem complicated, but don’t worry, we’ll go over everything you need to know to get started, from setting up your equipment to choosing the right platform for your content.
Let’s get started!

Key Equipment Needed

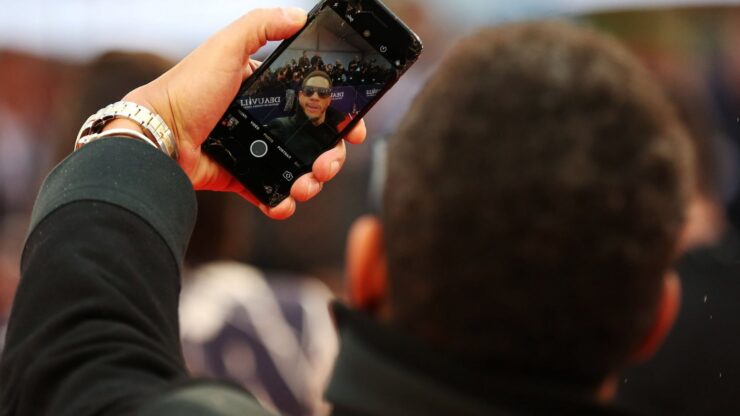
To start live streaming, you’ll need some equipment. First, you’ll need a video and audio source. This could be a DSLR camera, a webcam, or even your smartphone. For audio, you’ll want to consider microphones that suit your setting, such as a clip-on lapel mic for hands-free clarity or a standing microphone for better sound quality.
You’ll also need a video encoder, which is a tool that transforms your raw video and audio into a format that can be streamed online. You can choose between hardware encoders, which are standalone devices, or software encoders that run on your computer.
Finally, you’ll need a stable internet connection to ensure your stream doesn’t freeze or drop. A wired Ethernet connection is more reliable than Wi-Fi for maintaining a stable stream.
Is It Better to Stream with DSLR or Webcam?
If you start your first live stream with a DSLR camera, you have better video quality and better performance in low-light situations than webcams. Digital camera settings are also more customizable than webcams, so you can ensure things like shutter speed and ISO are perfectly adjusted to your needs.
| 7 Best Streaming Cameras |
|---|
| Best Overall: Logitech C922 Pro. |
| Best Premium: Sony A7III. |
| Best Budget: Microsoft LifeCam HD-3000. |
| Best Versatile Webcam: Elgato Facecam. |
| Best Dedicated Streaming Camera: Logitech Streamcam. |
| Best Beginner Mirrorless: Panasonic Lumix G100. |
| Best AI Webcam: Obsbot Meet 4K Webcam. |
Instructions to Start Your First Live Stream
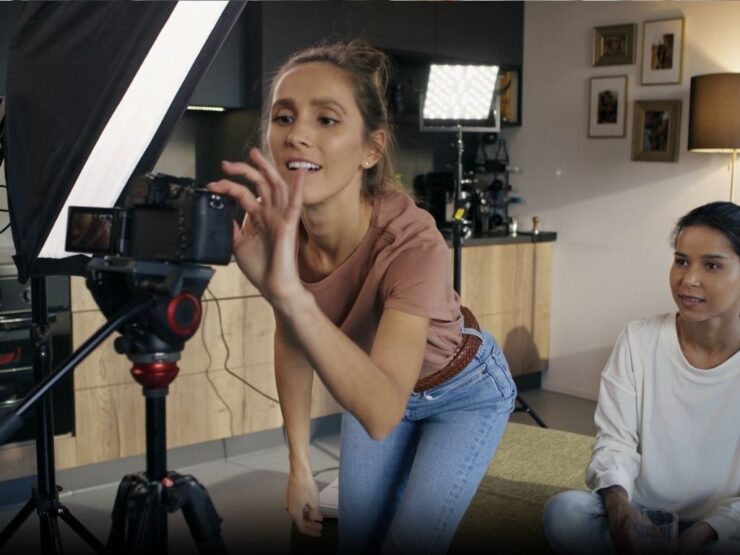
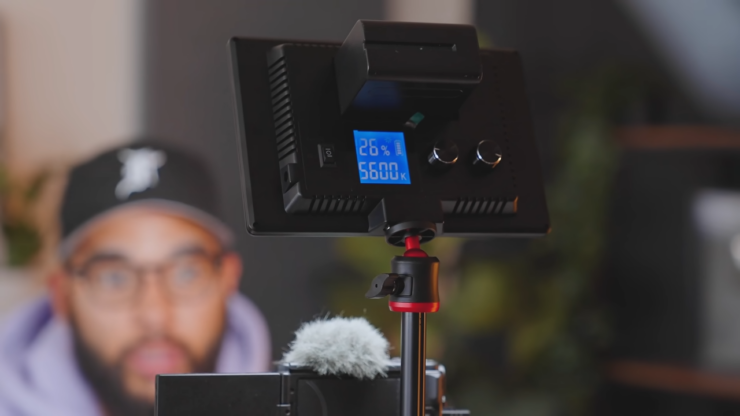
- Step 1: Prepare Your Video and Audio Sources – The first step is to set up your camera or webcam in a stable position with a clear view of your broadcasting area. Make sure your audio sources, like microphones, are tested and adjusted to avoid any audio issues during your stream. Think about the layout of your scene and where you will be, where your props are, and how everything will appear on camera.
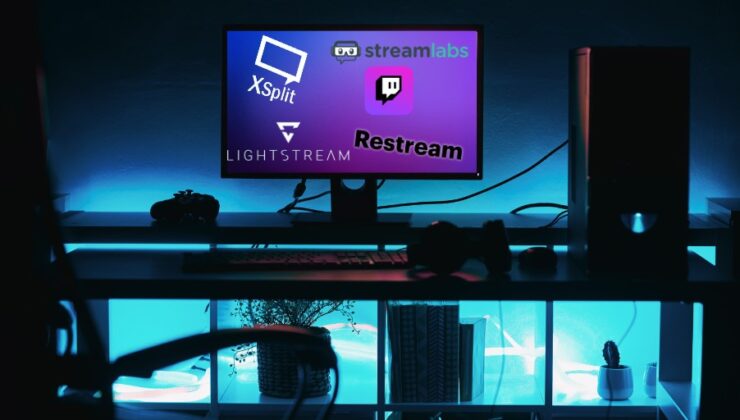
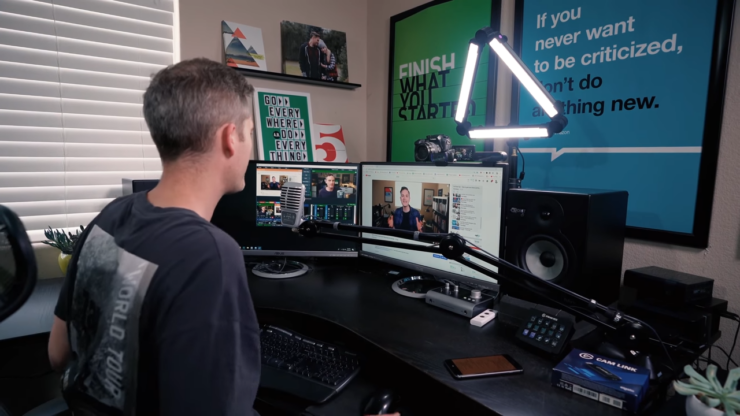
- Step 2: Set Up Your Video Encoder – Next, you’ll need to install your chosen encoder software on your computer or set up your hardware encoder. Connect it to your video sources using the appropriate cables, such as HDMI or SDI. Dive into the settings to select the right output resolution, frame rate, and bitrate for your stream. Make sure your settings are optimized for the best balance of quality and performance.
- Step 3: Choose Your Streaming Destination – Sign up for the platform you’ve chosen, such as YouTube, Twitch, or Facebook Live, and explore its dashboard to understand the features it offers. You’ll need to know how to set up a new stream, where to get your stream key, and how to manage viewer interactions. Familiarize yourself with any guidelines or restrictions to ensure your content aligns with platform standards.
- Step 4: Ensure a Stable Internet Connection – Run a speed test to ensure your internet can handle your streaming bitrate. Aim for a speed 1.5 times higher than your stream’s bitrate to compensate for fluctuations. Consider scheduling your streams during off-peak hours to avoid internet congestion and provide a smoother experience for your viewers.
- Step 5: Go Live – With everything set up, paste your stream key into your encoder and hit the live button. Keep an eye on the stream’s health indicators within your encoder or platform dashboard. Be ready to interact with your audience and manage any issues that might arise. Enjoy the live interaction and feed off the energy of real-time viewer engagement!
Live Streaming Costs

The cost of live streaming an event can vary greatly depending on the complexity of the event. Here are some approximate costs:
- One-camera live stream: 700 to \2500 USD
- Multi-camera live stream with a live stream producer and camera operators: 1800 to \6000 USD or more
Cable vs. Live TV Streaming
Here’s a comparison of the cost of cable TV packages and live TV streaming services:
| Service | Internet Basic TV Package | Cost |
|---|---|---|
| Philo | $70 | $25 |
| Sling TV | $70 | $40 |
| YouTube TV | $70 | $73 |
| Hulu Plus Live TV | $70 | $77 |
How Much Is 1 Hour of Streaming?

On average, streaming video data usage for SD quality is around 0.7 to 1 GB of data per hour, while HD streaming can use approximately 1.5 to 2.5 GB of data per hour. UHD or 4K streaming typically consumes even more data, with estimates ranging from 7 to 10 GB per hour.
Conclusion
Live streaming can be challenging, with some chance of making mistakes, but it’s also exciting. By following these steps, with basic knowledge, you’ll be able to start your first live stream successfully and build a foundation for more advanced streaming setups in the future.
Remember to take your time setting up your equipment, familiarize yourself with your tools, and always test your setup to minimize problems during your live broadcast.
Happy streaming!