Live streaming has been booming in the last couple of years. There are so many indications of this trend.
When you start digging, you will see that roughly 60% of young adults watch streams regularly. Therefore, now is the perfect time for those interested in streaming to start.
Of course, there is a dilemma on which platform to use. The main players in the market are Twitch and YouTube.
Let us see the main characteristics of all of these.
Twitch
Twitch, established in 2011 as a spin-off of the general-interest streaming platform Justin.tv, quickly ascended as the premier video game live streaming.
This platform has become synonymous with digital streaming but has also established a robust ecosystem around gaming, music, and lifestyle content.
It effectively leverages the user base of video game enthusiasts and has branched into various forms of entertainment and creative content, hosting events and personalities that draw millions of viewers.
How to Set it Up?
Step #1: Creating a Twitch Account
Familiarize yourself with Twitch’s community guidelines to understand the do’s and don’ts on the platform. Go to Twitch’s website and sign up for an account. You will need to provide a username, password, email address, and date of birth.
For mobile users, the Twitch app is available for download, and you can sign up using your phone number initially.
Before you can start streaming, Twitch requires that you enable 2-factor authentication on your account. You’ll need to verify your email and link your phone number to your account to set this up.
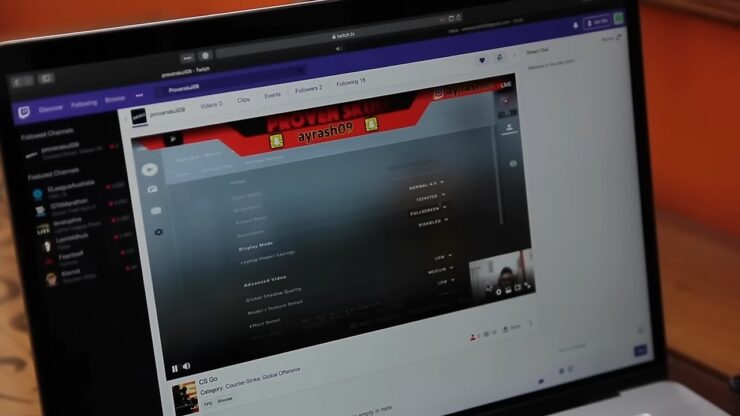
Step #2: Choosing the Right Software
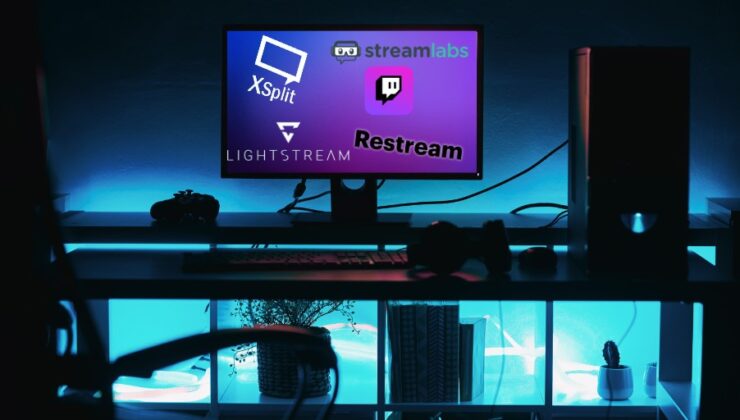
If you are streaming from a desktop, Twitch does not support native apps, so you’ll need to use third-party software. Options include:
- Restream Studio: A browser-based solution, great for beginners and supports streaming to multiple platforms simultaneously.
- OBS Studio: Free and open-source, offering extensive customization but has a steeper learning curve.
- Streamlabs: User-friendly with features tailored for monetizing your channel, available only on Windows.
- Twitch Studio: Twitch’s software with limited features and customization.
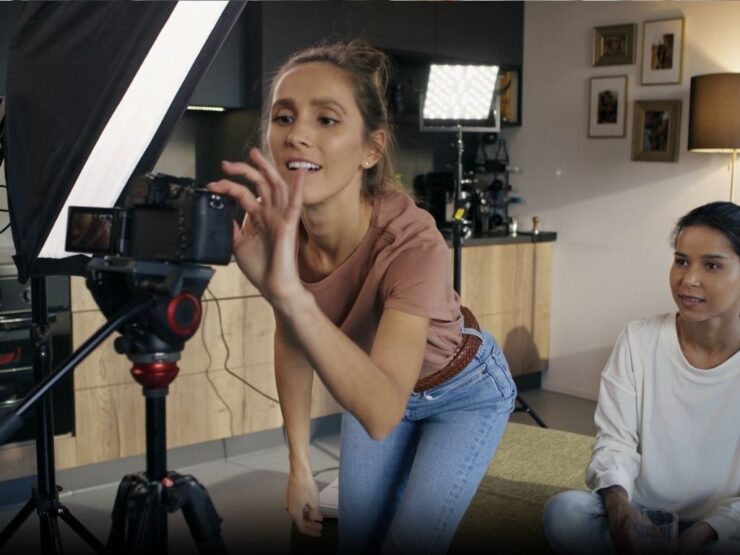
Step #3: Setting Up Your Equipment

Make sure that the equipment is good enough to meet the needs of your goal.
At a minimum, you need a PC (or console or smartphone), a microphone, and a webcam.
For streaming, especially gaming, your computer should have an i5 processor and 8 GB of RAM. Consider a GPU that supports hardware encoding to alleviate CPU load.
Choose a quality microphone and webcam to enhance audio and visual clarity. Options range from budget to professional setups.
Step #4: Streaming Setup
Attach all peripherals like webcams, microphones, and additional monitors to your computer.
Install and set up your chosen software. Link it to your Twitch account using the stream key found in your Twitch dashboard. In your streaming software, set up different scenes for your stream such as a live gameplay scene, starting soon, be right back, etc.
Add sources like your webcam feed and game capture to these scenes.
Step #5: Going Live
Before going live, run tests to ensure everything works seamlessly—check audio levels, video quality, and stream stability. Once everything is set up and tested, hit the “Go Live” button on your software.
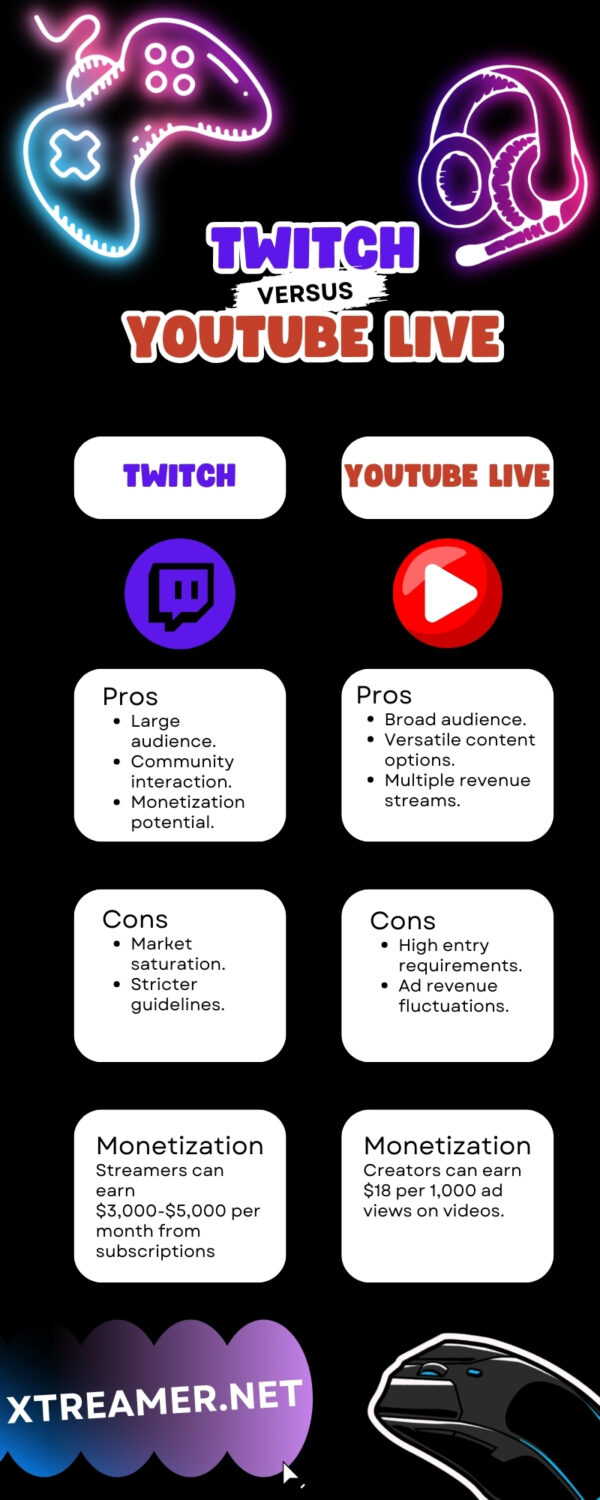
Monetization: Successful streamers can make between $3,000 and $5,000 per month from their subscribers.
Pros
- Largest Audience
- Community Interaction
- Monetization Potential
Cons
- Market Saturation
- Stricter Guidelines
YouTube Live
YouTube introduced live streaming in 2011, leveraging its vast user base and content diversity.
Unlike Twitch, which is predominantly gaming-focused, YouTube Live caters to a wide range of interests, including news broadcasts, how-to guides, and live vlogs.
Its integration with the main YouTube platform allows creators to benefit from both live and pre-recorded content.
How to Start?
Step #1: Enable Live Streaming
Before you start streaming on YouTube, you need to enable the live streaming feature. Here’s how to do it: On a Computer:
- Visit YouTube and click on the Create symbol at the top.
- Select ‘Go Live.’
- Verify your channel if you haven’t already, which may include a verification code sent to your phone.
- It may take up to 24 hours for YouTube to enable live streaming on your account.
On Mobile Devices:
- Open the YouTube app.
- Tap on the Create symbol, then select ‘Go Live.’
- Like on a desktop, it may take up to 24 hours to activate live streaming after verification.
Step #2: Meet the Requirements
Ensure you meet the basic requirements for live streaming:
- Verify your YouTube channel.
- Have no restrictions in the past 90 days.
- For mobile streaming, you need at least 50 subscribers.
Step #3: Choose Your Stream Type
Decide the type of livestream you want to conduct:
- Mobile: Suitable for vlogs or quick updates (requires at least 50 subscribers).
- Webcam: Ideal for simple streams like Q&A sessions.
- Encoder: Best for professional or complex streams like concerts or webinars, where you might share screens or use multiple cameras.
Step #4: Setup Your Stream
Prepare your stream by setting up the following elements:
- Create an engaging title and description with relevant keywords for SEO. Design a custom thumbnail to attract viewers.
- Choose between options like scheduling the stream for later, setting privacy levels, enabling monetization, managing live chat, and more.
Step #5: Go Live

To start your live stream:
- Tap ‘Go Live’ in the YouTube app after setting your options.
- On YouTube, click ‘Create’ then ‘Go Live,’ select ‘Webcam,’ and start streaming.
- Set up your encoder with the necessary hardware, connect to YouTube, and start streaming.
Step #6: Manage Your Livestream
Utilize features during your stream to enhance interaction and manage the session:
- Use live chat to interact and respond to viewers in real-time.
- Keep an eye on the performance metrics and adjust as needed to maintain a smooth experience.
- Consider tools like polls, Q&A, and featured comments to increase engagement.
Monetization: Creators can expect to generate approximately $18 per 1,000 ad views (or $0.018 per view) on their videos.
Pros
- Broad Audience
- Versatile Content Options
- Multiple Revenue Streams
Cons
- High Entry Requirements.
- Ad Revenue Fluctuations
The Verdict

Choosing the right streaming platform is not as challenging as it may seem.
Each platform comes with a set of characteristics that will help determine what your choice should be. Regardless of the platform you choose, it’s crucial for beginners to avoid common live streaming mistakes, such as poor audio quality or inconsistent streaming schedules.
If you ask us, we believe that YouTube Live is the best one if you do not stream video game-related content. If you do, Twitch would be the right way to go.