Hey everyone! So, I’ve been using this software called OBS (Open Broadcaster Software) recently, and it’s pretty awesome. It is a free and open-source solution for offline recording and live streaming that is Mac and Windows-compliant. With an open canvas approach to tape creation, this tool can mix a variety of audio and video sources into a single output for creative video and broadcast applications. OBS Studio Streaming Settings lets you tweak your stream just the way you like, which is super cool. But I’ll be honest, figuring it all out can be a bit tricky if you’re new to it.
| Question | Answer | Description |
|---|---|---|
| Is OBS Studio safe to download? | ✔ | Yes, from the official OBS website |
| Is OBS Studio safe to use? | ✔ | Yes, if you have an official version of the software |
| Does OBS Studio have a virus? | ✘ | No, if it is a legitimate download |
| Can OBS infect my computer with spyware? | ✘ | No, OBS is free from spyware, malware, and viruses |
OBS Studio Streaming Settings – Getting Just Right
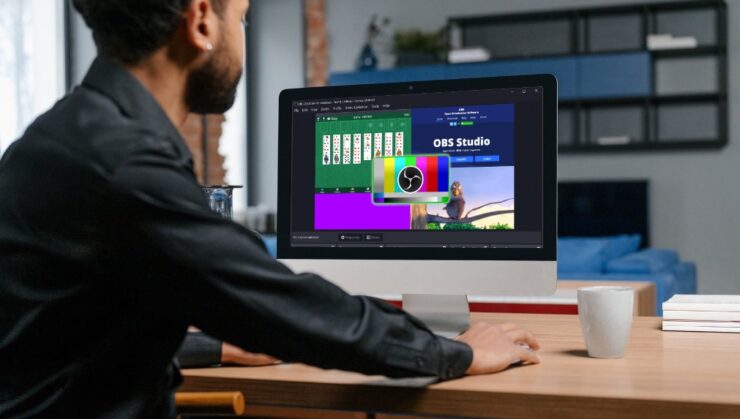
Hey, streamers beginners! Setting up OBS Studio, right? Well, it’s gotta be on point if you want your stream to look and sound epic. If your settings aren’t dialed in, your video might look like a pixelated mess or be too big to share. And when you go live, it needs gotta be smooth. Otherwise, your viewers might get stuck with that loading icon or a choppy video.
Now, if your internet’s a bit slow and can’t keep up with high-quality settings, OBS might skip some frames to keep the video playing. That’s where bitrate comes in – it’s the secret sauce for awesome video and audio quality. Pick one that matches your internet speed to give your viewers the best possible experience.
4. Video and Audio Quality Settings

Let’s talk video. If your computer’s a beast, go for 1080p resolution to make your tape super sharp. If it’s more like a little critter, 720p works fine. Frame rate? 60 fps is perfect for action-packed streams, but 30 fps is chill for just hanging out. Make sure your output resolution matches your base for the clearest picture.
The bitrate’s the big player here. It’s like the quality lever for your tape. For smooth 1080p streams at 60 fps, aim for a bitrate between 4500 and 6000 Kbps. Rocking 720p at 30 fps? Then 2500 to 4000 Kbps will do the trick. But hey, check your internet upload speed first to avoid any streaming hiccups.
For the geeks, the x264 encoder is top-notch if your CPU can handle it. Got a sweet NVIDIA GPU? NVENC could be your best bud. It gives your CPU a break.
Audio-wise, keep it at 160 Kbps for a clear sound that doesn’t hog your bandwidth. Match the sample rate with your mic and audio interface – usually, it’s 44.1 kHz or 48 kHz.
Advanced tech tip: Set your keyframe interval to 2 seconds for best buddy status with Twitch or YouTube. And B-Frames? Keep ’em at 2 for a solid mix of quality and smooth streaming.
3. Special OBS Studio Streaming Settings for Dacast Users
Rocking Dacast for your streams? It’s got some specific settings to make your stream pop. Every platform’s got its own vibe, so you need to match your settings to what Dacast likes. That means using the H.264 video codec, a frame rate of 25 or 30, a keyframe interval of 3 seconds, and a constant bitrate for stability. For audio, lock it down to 128 Kbps in stereo, with a 48 kHz sample rate. Got it? Cool.
2. Internet Speed and Bitrate Balance
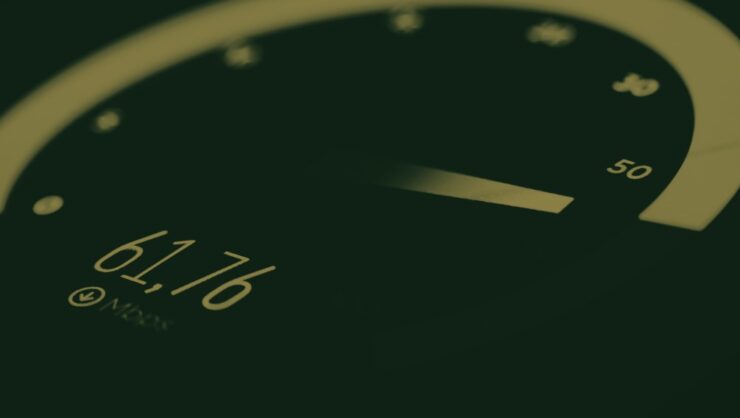
Your internet’s gotta be twice as fast as your OBS bitrate for quality streaming. Say your upload speed is 2000 Mbps; keep it under 1000 Mbps. No one likes buffering, right? Run a quick internet speed test to see where you stand.
Consider your audience, too. Are they tuning in on phones or laptops? They might need lower bitrates if they’re out and about. Or switch to adaptive bitrate streaming, and OBS will adjust on the fly, giving everyone a smooth streaming ride no matter where they are.
1. Boosting with Streamlabs OBS
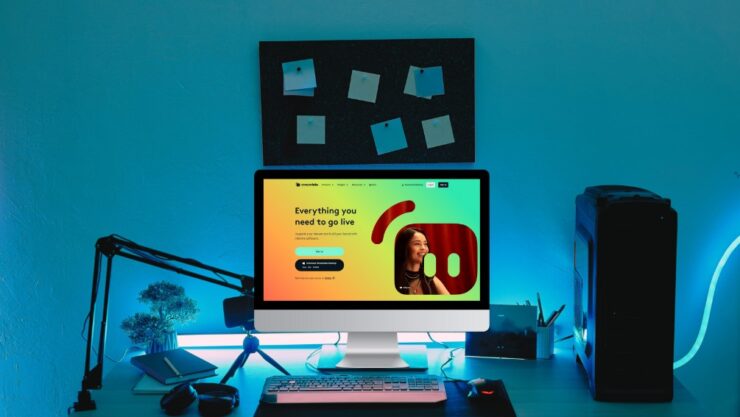
Lastly, let’s give a shout-out to Streamlabs OBS. It’s like OBS Studio’s cousin – great for beginners and those who want to easily edit stream layouts. You can also bring friends in, which is always a blast.
Streamlabs lets you stream to all the big platforms and even has cool widgets to play with. If you want all the perks, their Ultra plan’s got you covered.
Now you’re all set! Just remember, the best streams are when your settings match your gear and your viewers can enjoy the show without any glitches. Happy streaming!
Why is OBS free?
OBS is free because the OBS Project is a collective of volunteer developers and designers on a mission to create open-source software for a variety of uses, including screen recording and video editing. Like a lot of open-source software, while the price is right, there’s not a lot of customer support. Plus, learning to use OBS can be time-consuming and frustrating. If you’re looking for a free screen recording program, check out our article on the best OBS alternatives.
Summary
There you have it, folks – the lowdown on nailing your OBS Studio settings for high-quality streaming. It’s all about balancing your video and audio settings with your internet’s muscle power. Whether you’re using OBS Studio with its customization glory or Streamlabs OBS for its user-friendly vibe, the key is to keep your viewers in mind and make sure they have a smooth, high-quality experience. So, test your speed, tweak those settings, and get ready to go live. Your audience awaits, and now you’ve got all the tricks to give them a show they’ll keep coming back for. Lights, camera, stream!

